HumanSurface
HumanSurface is the predecessor to UberSurface which is now included in DazStudio 4+. If you have UberSurface or UberSurface2, you do not need HumanSurface
Next Generation surface shader for DAZStudio providing HDRI reflection support, Subsurface Scatterings, translucency and more.
Product Description
See the DAZ Product Page or Artzone Wiki for a full product description.
User Guide
Tiling
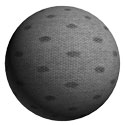
HumanSurface supports tiling textures via the Tiling parameters. If tiling is set to 3, the texture will be repeated or tiled 3 times.
| Tiling 1 1 | Tiling 3 2 |
|---|---|
 |

|
Opacity
Specular
Glossiness
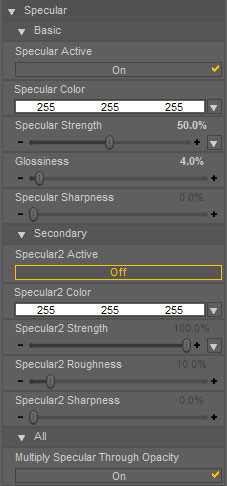
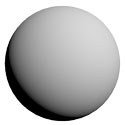
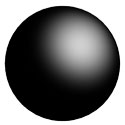
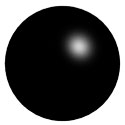
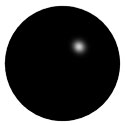
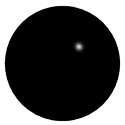
The specular model of HumanSurface is greatly improved over the Studio default shader. The shader uses a proprietary BRDF that pays special attention to glancing lights; preserving the specular shape and avoiding ugly clipping and harsh falloff.
| DAZ Studio Default | HumanSurface |
|---|---|
 |

|
| Glossiness 50% | Glossiness 4% |
![]() You will notice that the DAZ Studio Default and HumanSurface Glossiness values do not map directly across. This is because HumanSurface has a unique specular model. The OpenGL preview should show you approximately what the specular will look like.
You will notice that the DAZ Studio Default and HumanSurface Glossiness values do not map directly across. This is because HumanSurface has a unique specular model. The OpenGL preview should show you approximately what the specular will look like.
| Glossiness 0% | Glossiness 4% | Glossiness 20% | Glossiness 50% | Glossiness 100% |
|---|---|---|---|---|
 |
 |
 |
 |
|
Sharpness
The following images were rendered with specular only; Glossiness of 4%.
| Sharpness 0% | Sharpness 50% | Sharpness 100% |
|---|---|---|
 |
 |

|
Reflection
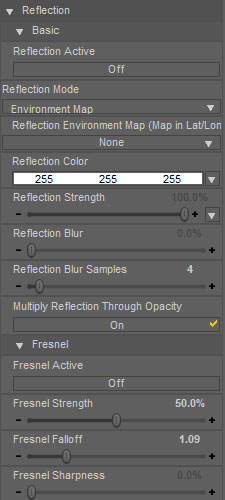
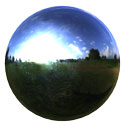
HumanSurface allow for HDR/Environment mapped reflection maps (in latitude/longitude format) as well as ray traced reflections. Both Modes of reflection can be blurred to achieve oily skin effects.
![]() More info on creating HDR can be found in the Creating Environment Maps section on the UberEnvironment page.
More info on creating HDR can be found in the Creating Environment Maps section on the UberEnvironment page.
| Reflect Strength 400%; Blur 0% | Reflect Strength 400%; Blur 5% |
|---|---|
 |

|
Fresnel
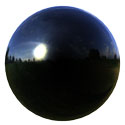
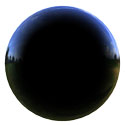
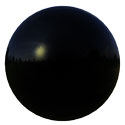
Fresnel's law basically states reflection at glancing angles is stronger than direct. The provided Fresnel controls give us explicit control over this effect.
| Sharpness 0% | Sharpness 50% | Sharpness 100% |
|---|---|---|
 |
 |

|
| Falloff 1 | Falloff 5 |
|---|---|

|
|
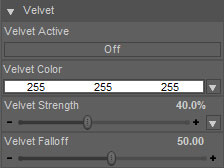
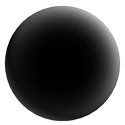
Velvet
The velvet component is designed to simulate the effect of tiny hairs on the surface. This helps to provide the look of "Peach Fuzz" on a face but can also be used to make a surface look like fabric like in the HumanSurfaceExpansionPack1.
| Falloff 5 | Falloff 20 | Falloff 50 |
|---|---|---|
 |
|

|
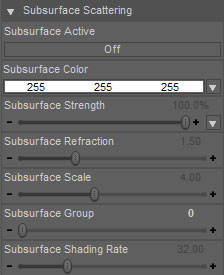
Subsurface Scattering
Subsurface Scattering can be used to simulate the scattering of light through transluscent surfaces like skin.
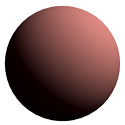
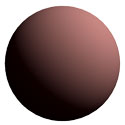
All images were rendered with a gray diffuse and red Subsurface Color.
![]() Subsurface Scattering is based on Diffuse; Diffuse must be active in order for Subsurface Scattering to work.
Subsurface Scattering is based on Diffuse; Diffuse must be active in order for Subsurface Scattering to work.
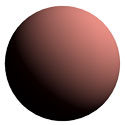
Refraction
Subsurface refraction represents the refraction or how much light is bent as it enters the simulated surface.
| Refraction 1 | Refraction 1.5 | Refraction 5 |
|---|---|---|
|
|
|
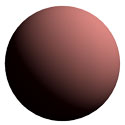
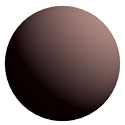
Scale
The Scale of the objects; this effects how far the light scatters through the object.
| Scale 2 | Scale 4 | Scale 6 | Scale 10 |
|---|---|---|---|
|

|

|
|
Displacement
The displacement controls are the same as the default shaders with one import addition: the abiblity to properly ray trace displacements.
3Delight allows ray tracing before or after displacing geometry. Since displacing the geometry generates micropolygons and a more dense mesh, displacing after will negatively impact render times but give you better visual results and can get rid of black splotchiness in rendes.
In order to ray trace after displacement, turn Trace Displacements on.
Tips and Tricks
- Use the 'Active' toggles to isolate the contribution of individual components. For example turn off the Basic Specular, Reflection, Diffuse, etc, when dialing in the size and sharpness of the Secondary Specular. This helps to make it more clear what the controls are doing. When you turn everything else back on, you then only need to worry about dialing in the Strength of the Secondary Specular.
- Often Better results can be achieved by using Reflection in stead of Specular. The reality of it is Specular is simply a gross approximation of Reflection. Try using blurred reflection and apply the specular map and a Reflection Strength map (Ideally using HDRI like the ones provided).
